The build guide, free
How to build a DIY golf simulator
12 parts from measuring your room to calibrating your first shot, wired to the 3D builder.
12 parts12 live nowfit-checked in 3D
The 12-part build
Work through it in order, or jump to the part you are stuck on. Each part checks itself off as you read it.
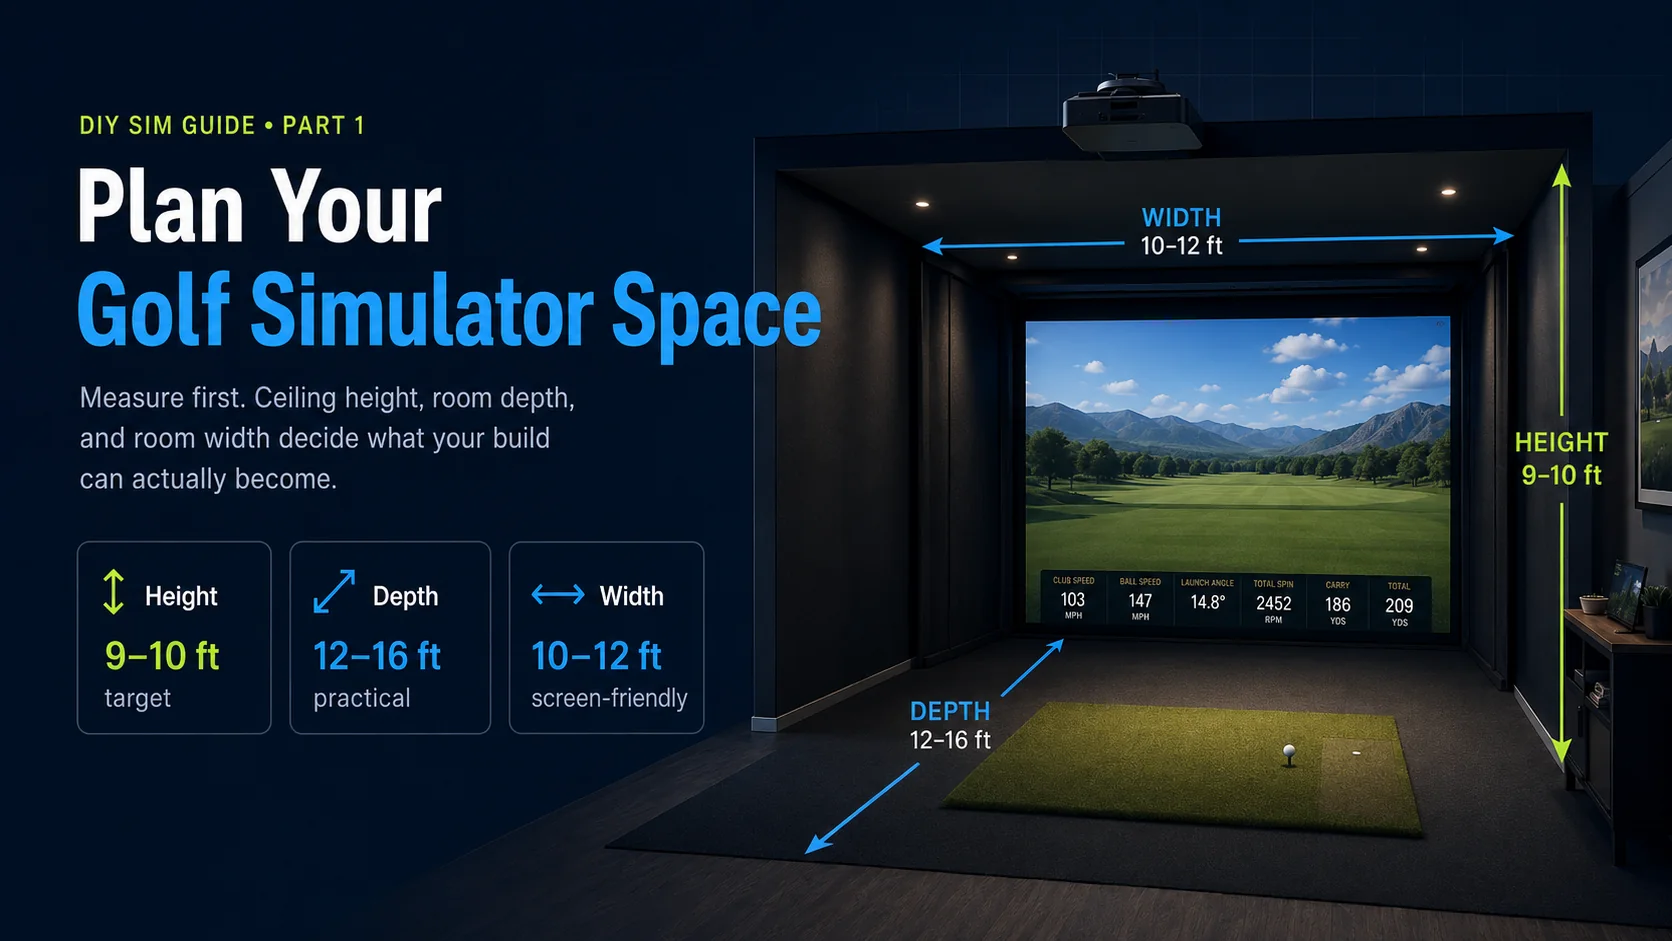
- Part 1Plan Your SpaceCeiling height, depth, width: the measurements that make or break a build, and how to find them.6 min read
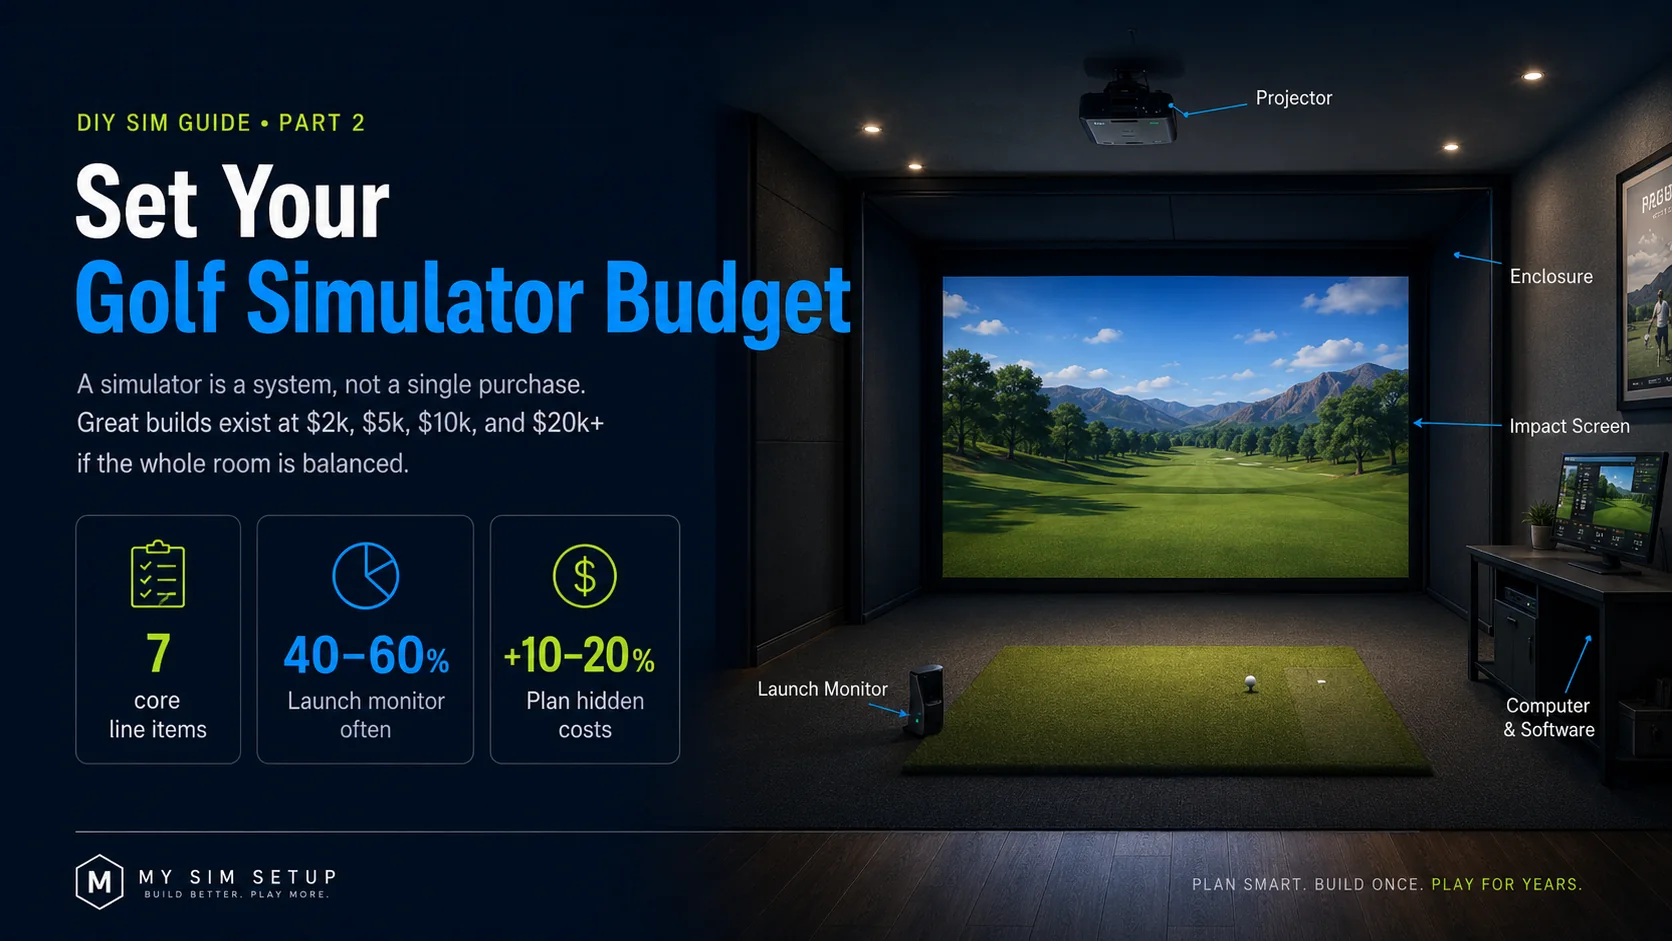
- Part 2Set Your BudgetWhere the money goes, what to spend vs. save, and realistic $2k / $5k / $10k / $20k builds.5 min read
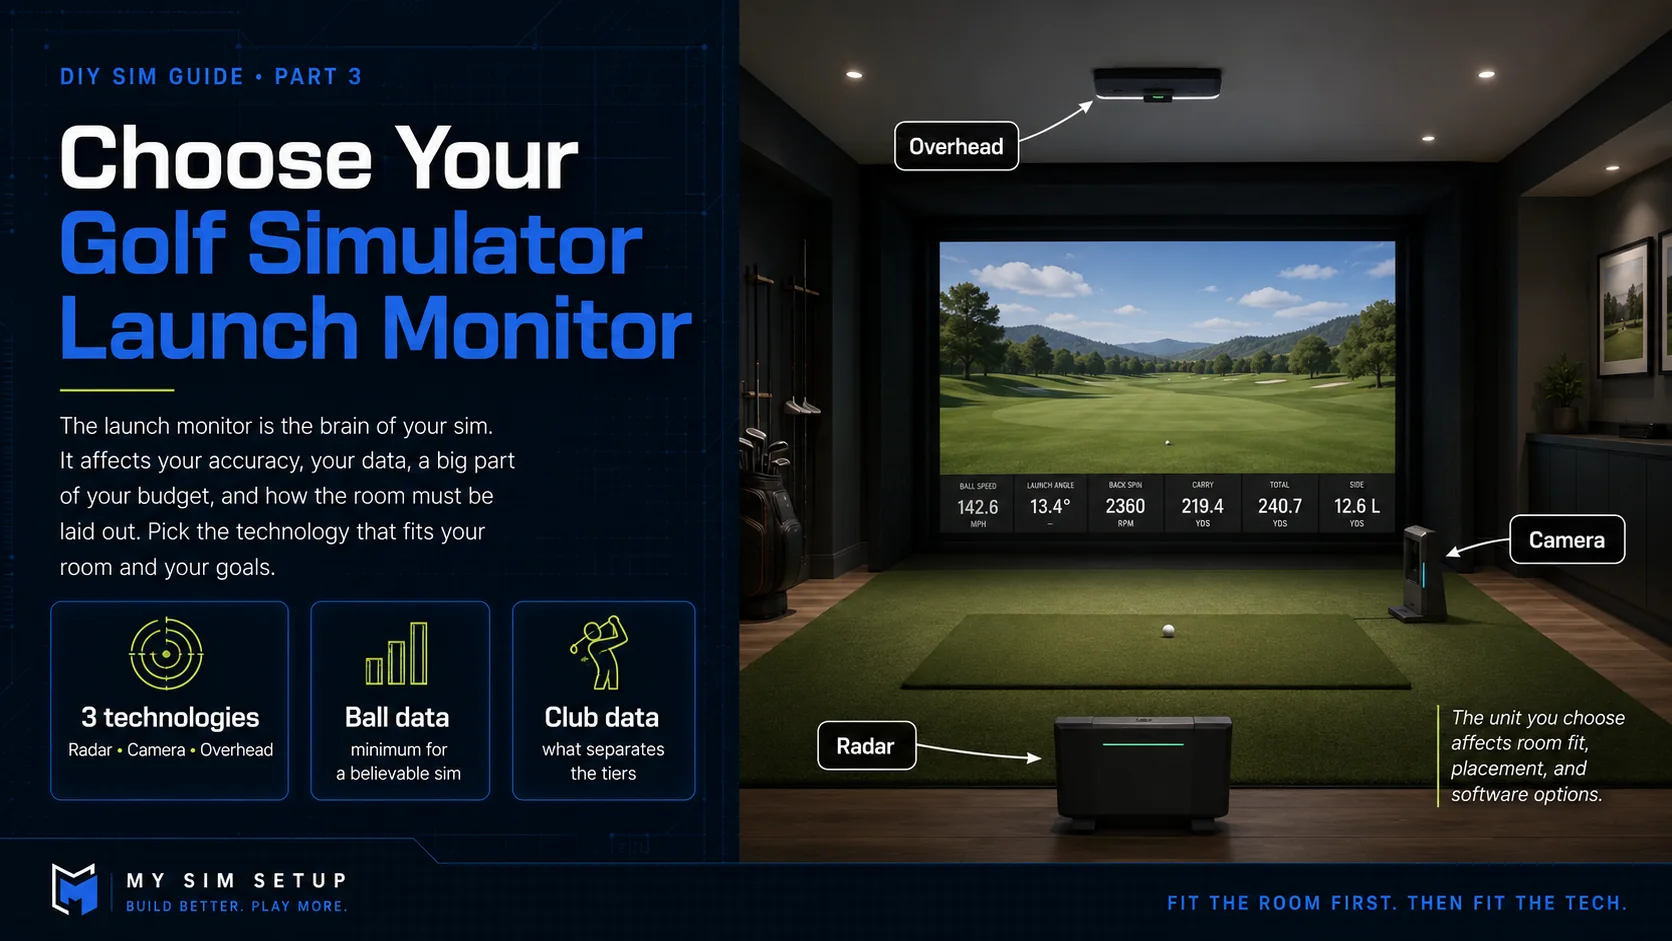
- Part 3Choose a Launch MonitorThe brain of your sim: radar vs. camera vs. photometric, overhead vs. side, and how much space each needs.5 min read
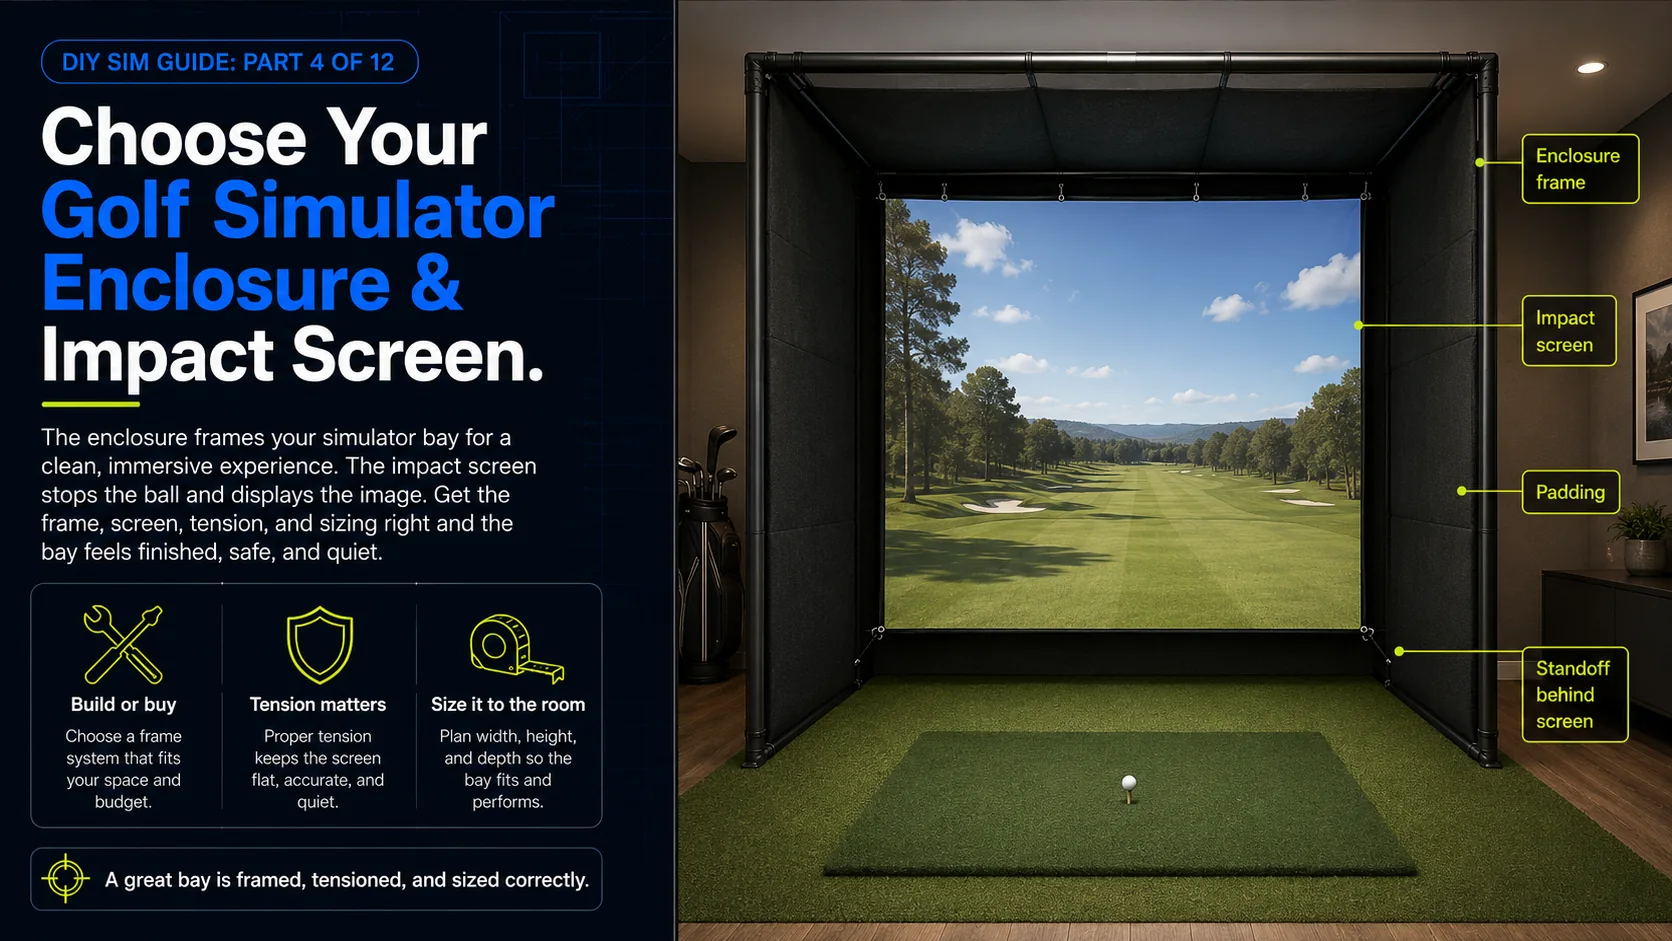
- Part 4Enclosure & Impact ScreenFraming options, screen material and tension, sizing to your room, and curved vs. flat.5 min read
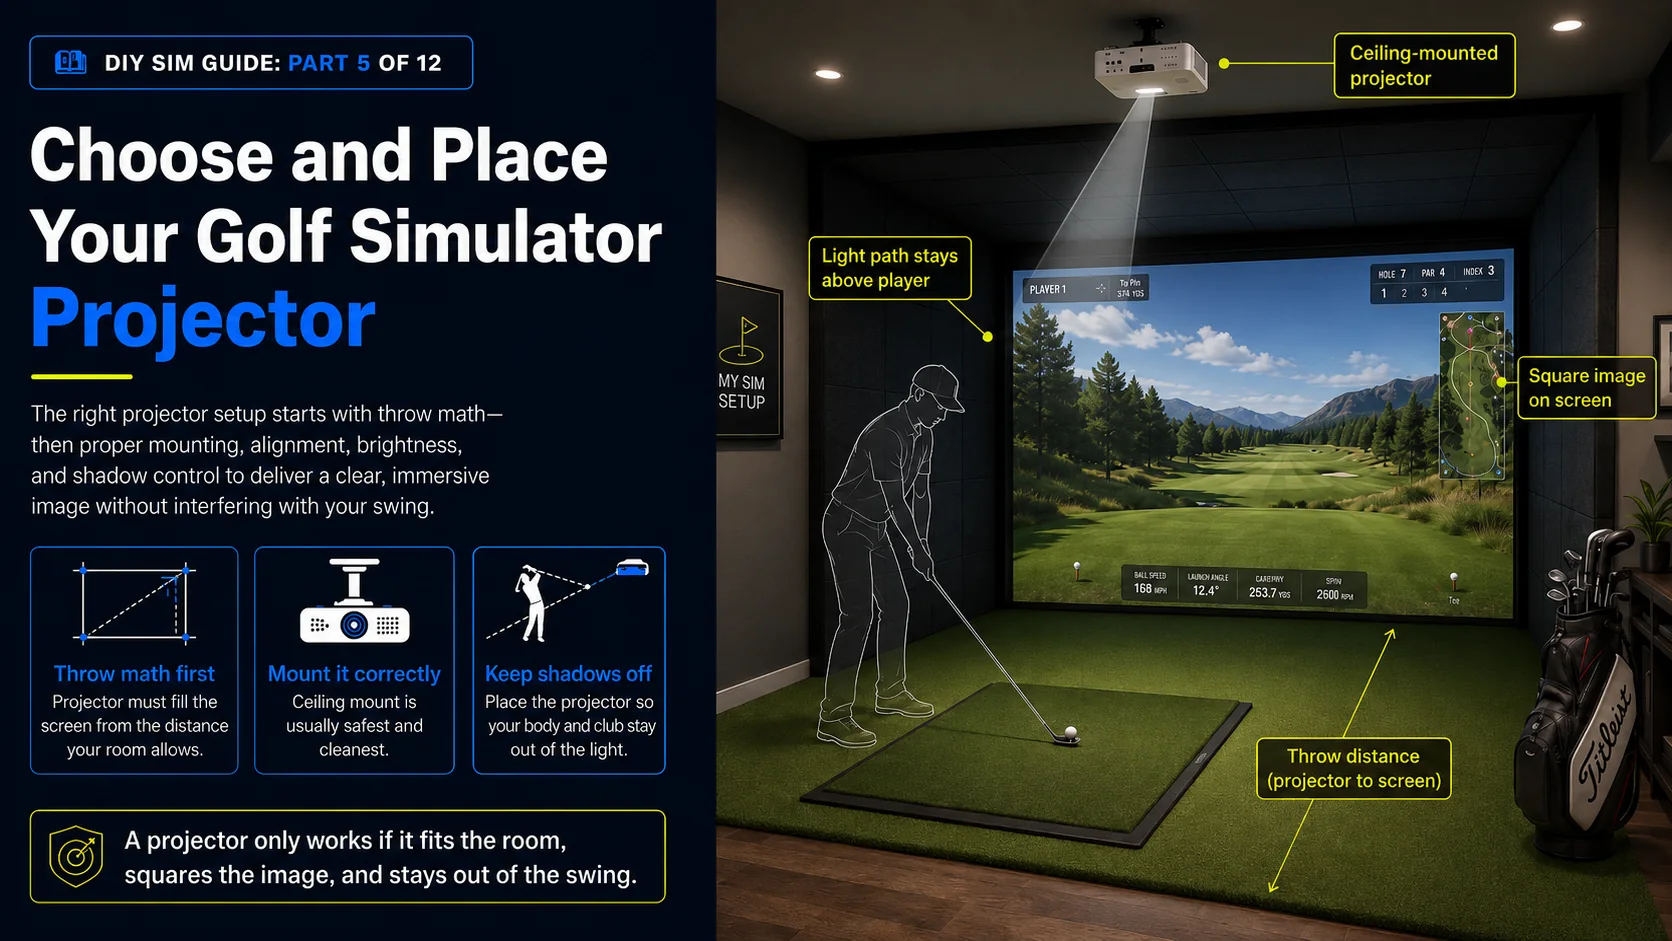
- Part 5Projector & ThrowThrow ratio, lens shift, lumens, resolution, and the math that puts a full, bright image on your screen.4 min read
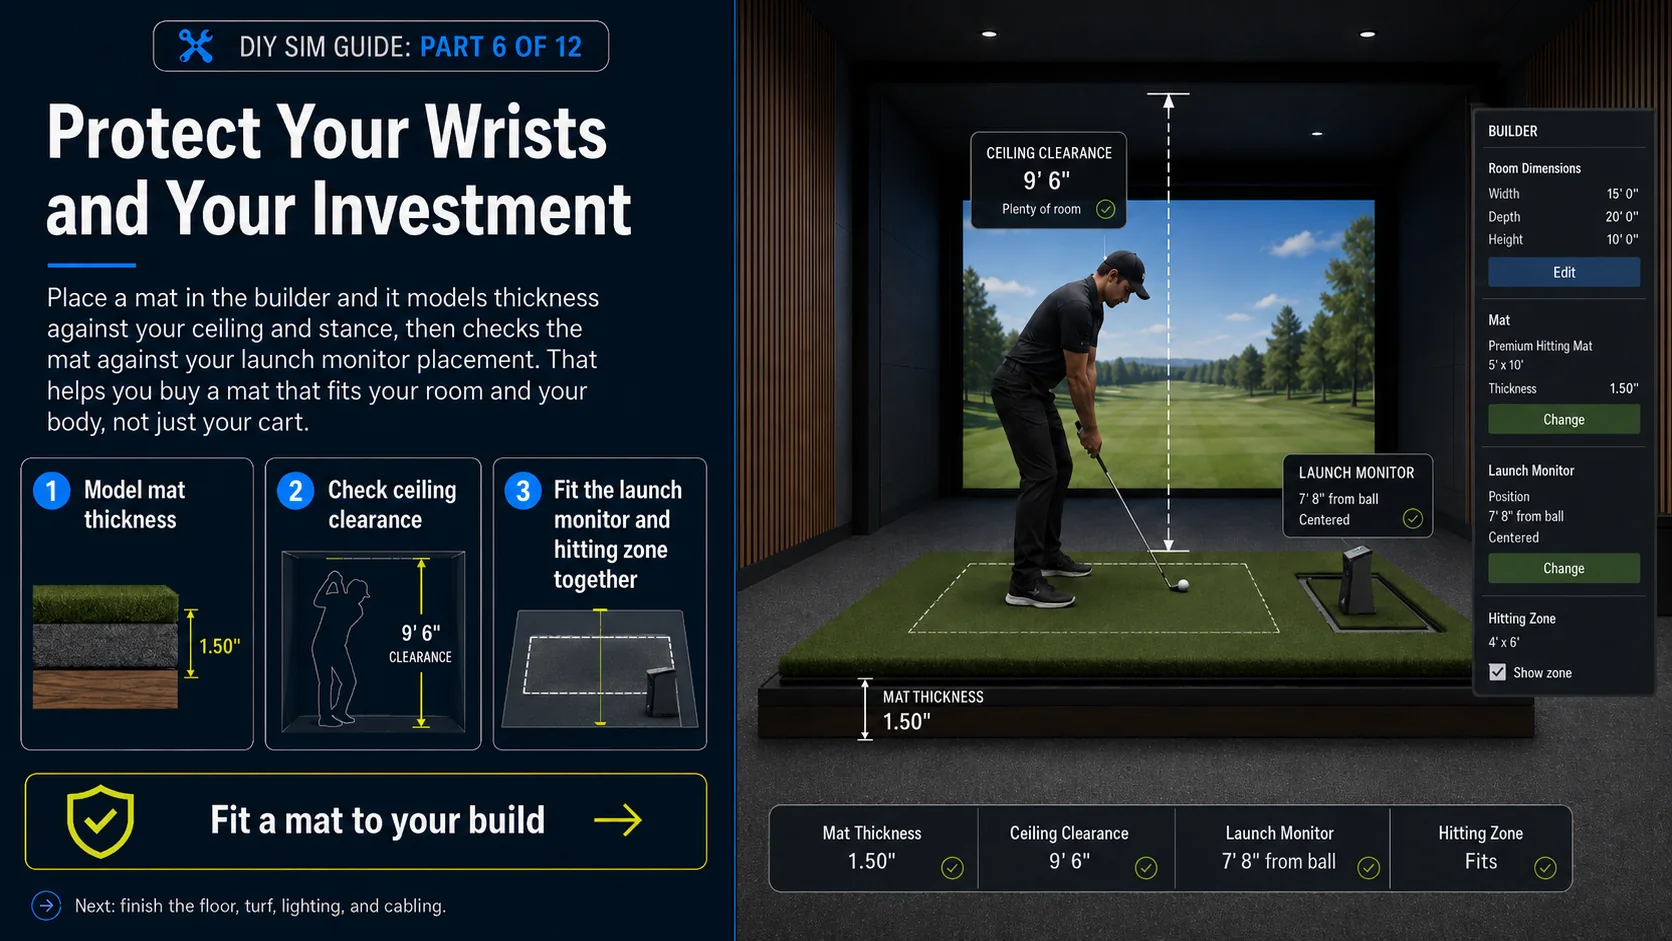
- Part 6Hitting Mat & TurfProtecting your wrists and your floor: mat types, thickness, and how to tee up.4 min read
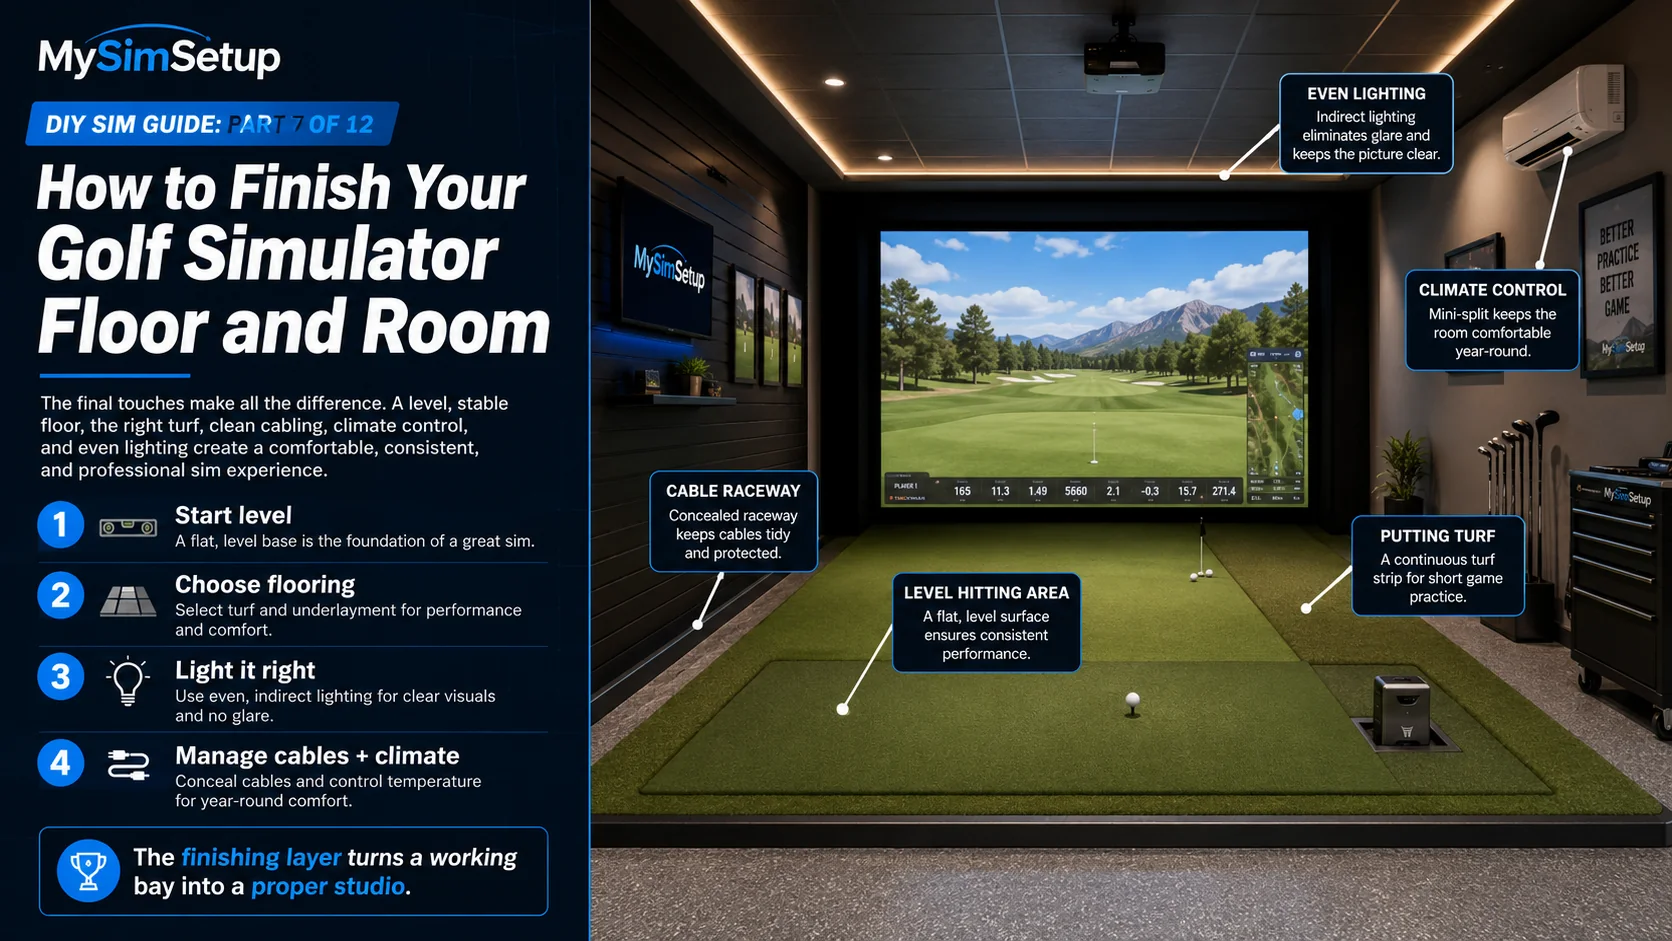
- Part 7Flooring & RoomLeveling, subfloor, putting turf, lighting, and cable management for a finished bay.3 min read
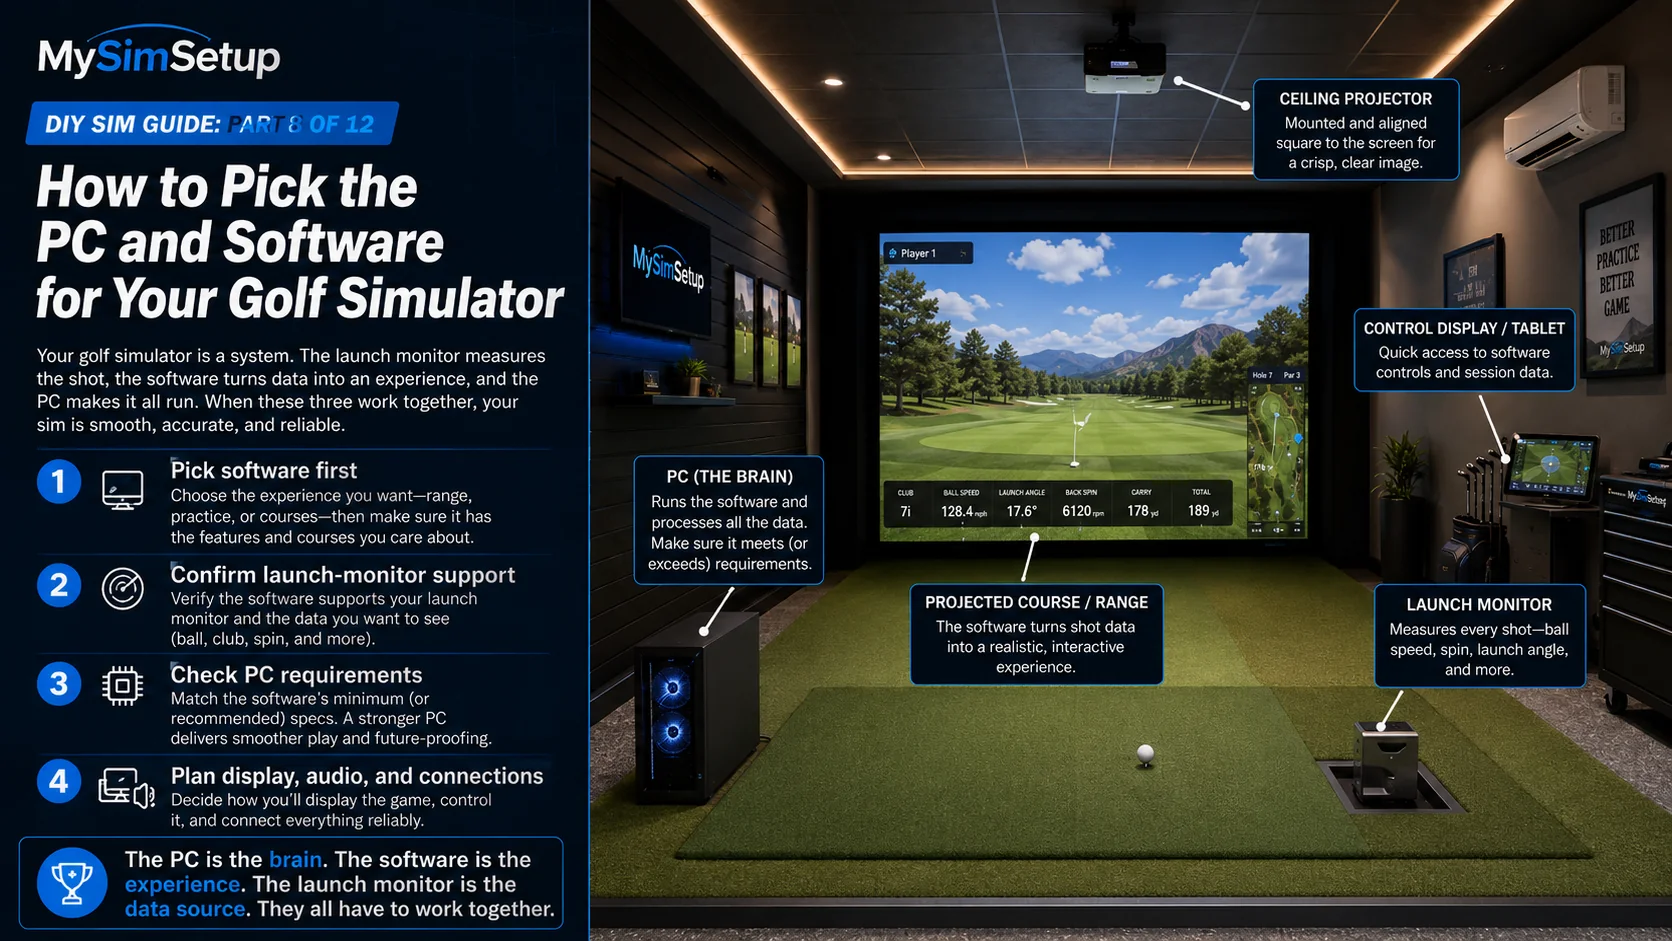
- Part 8PC & SoftwareGPU/CPU/RAM by software, laptop vs. desktop, and which sim pairs with your launch monitor.4 min read
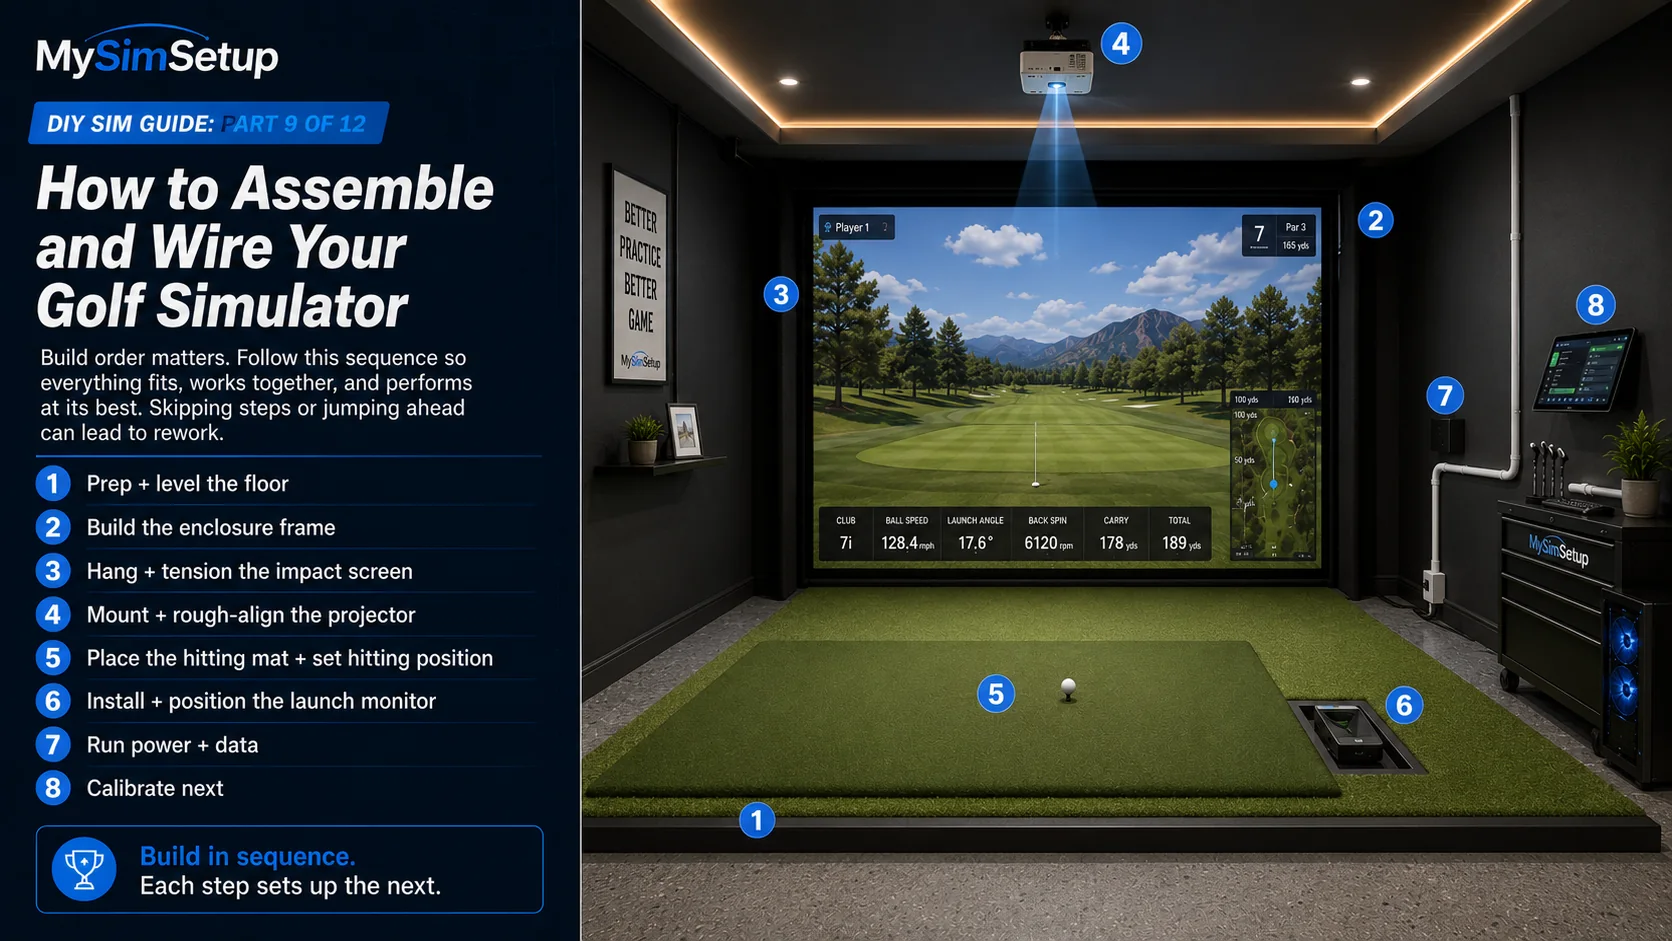
- Part 9Assembly & WiringBuilding the frame, mounting the projector, and running power + data safely.4 min read
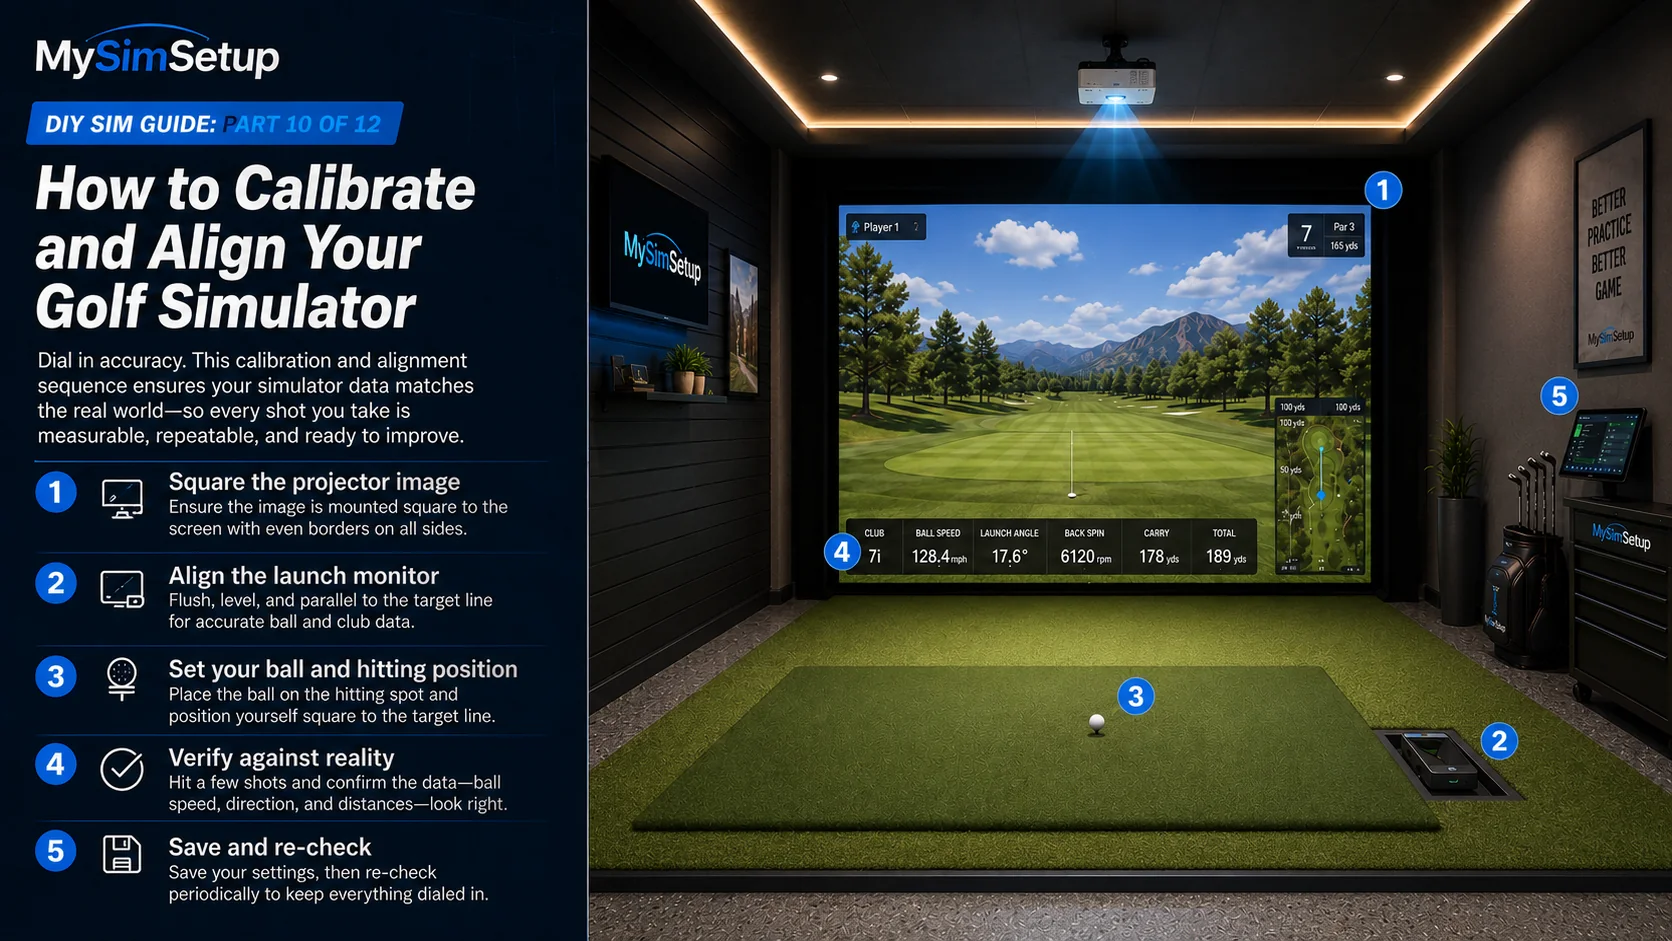
- Part 10Calibration & AlignmentAligning the launch monitor, squaring the projector, and dialing in accurate ball flight.3 min read
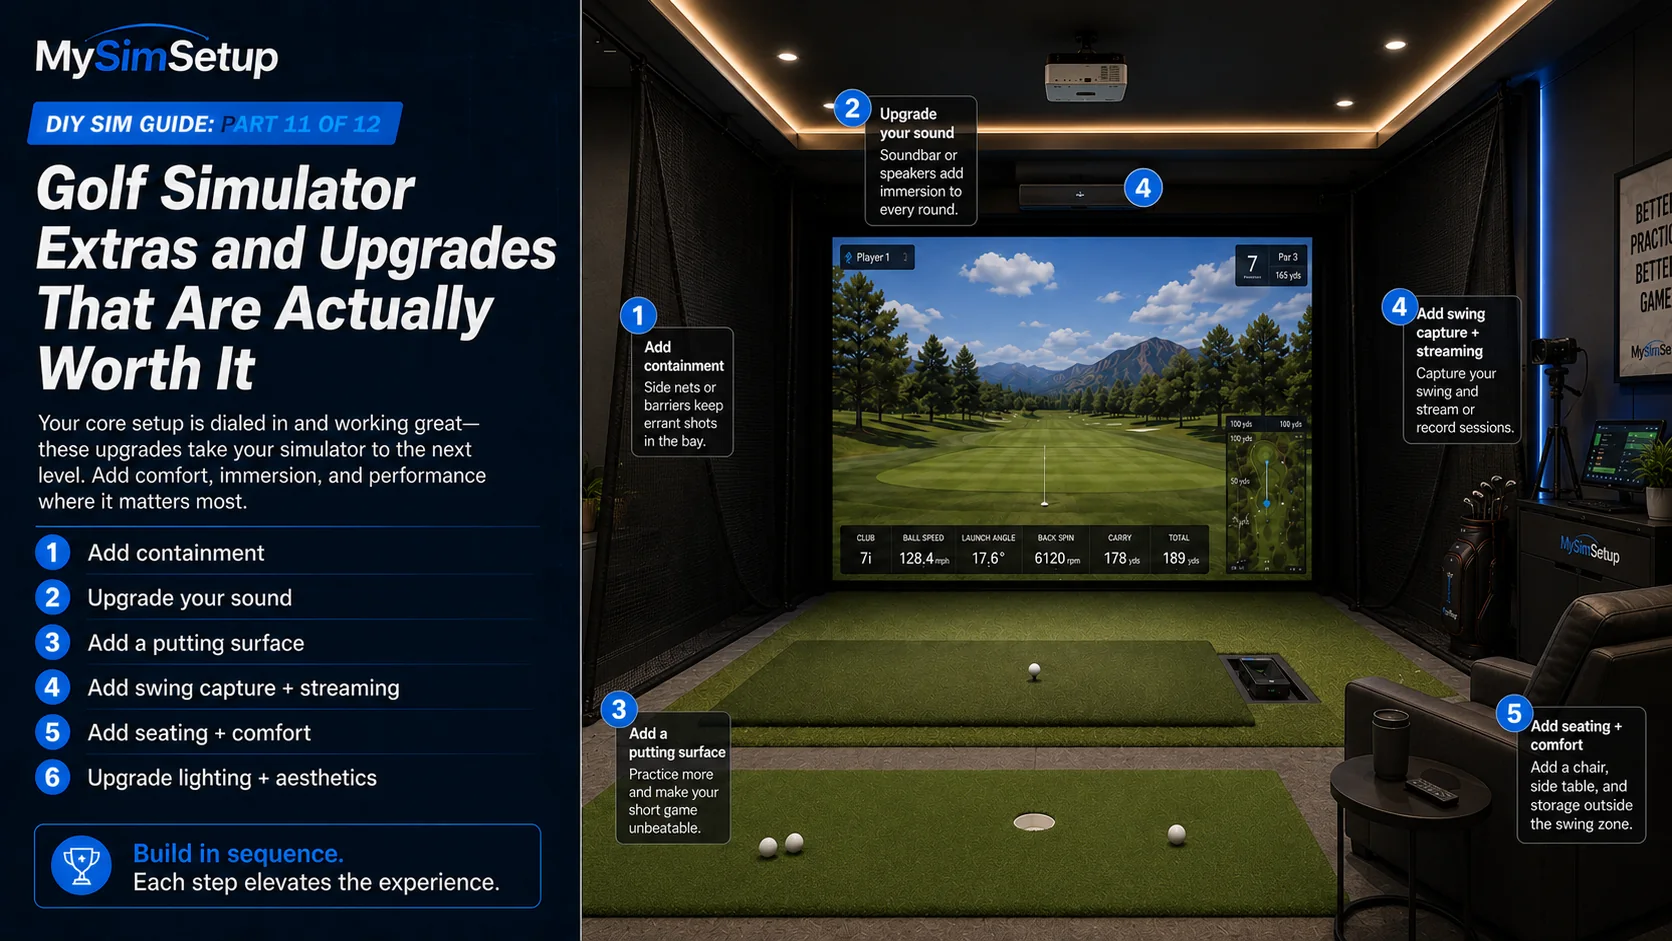
- Part 11Extras & UpgradesPutting greens, side netting, sound, seating, and the touches that make a room a studio.3 min read
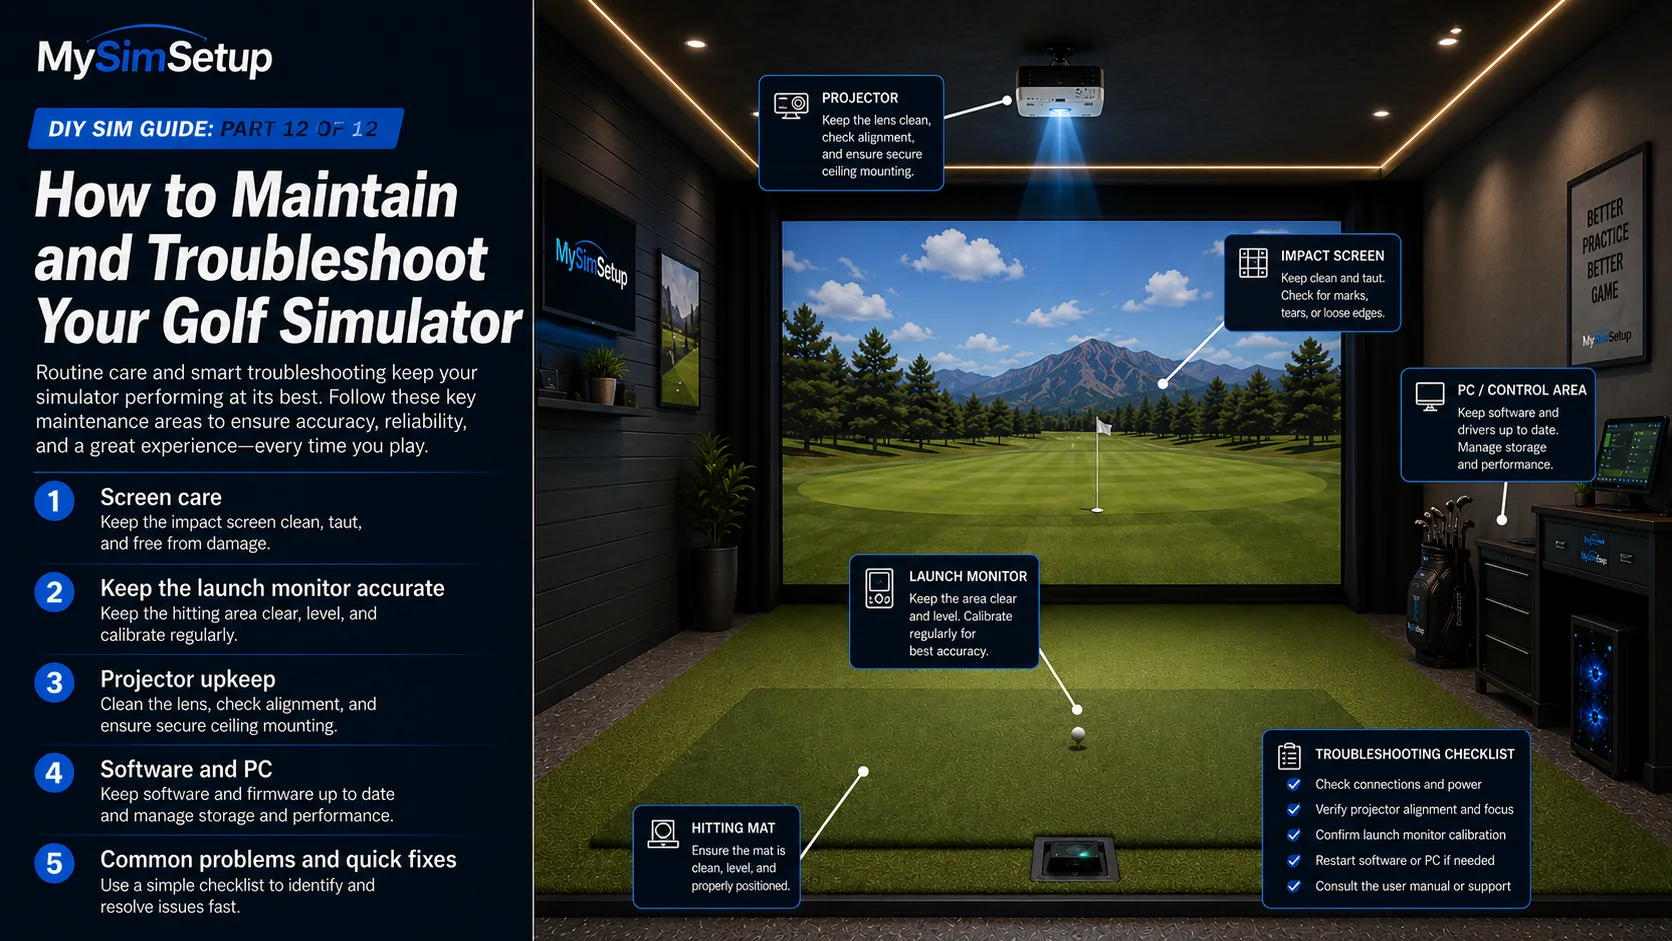
- Part 12Maintenance & TroubleshootingScreen care, firmware, and fixing the handful of things that go wrong.4 min read
Build Bench: hands-on deep dives
Step-by-step companions that go deeper than the chapters: framing, mounting, tensioning and wiring.
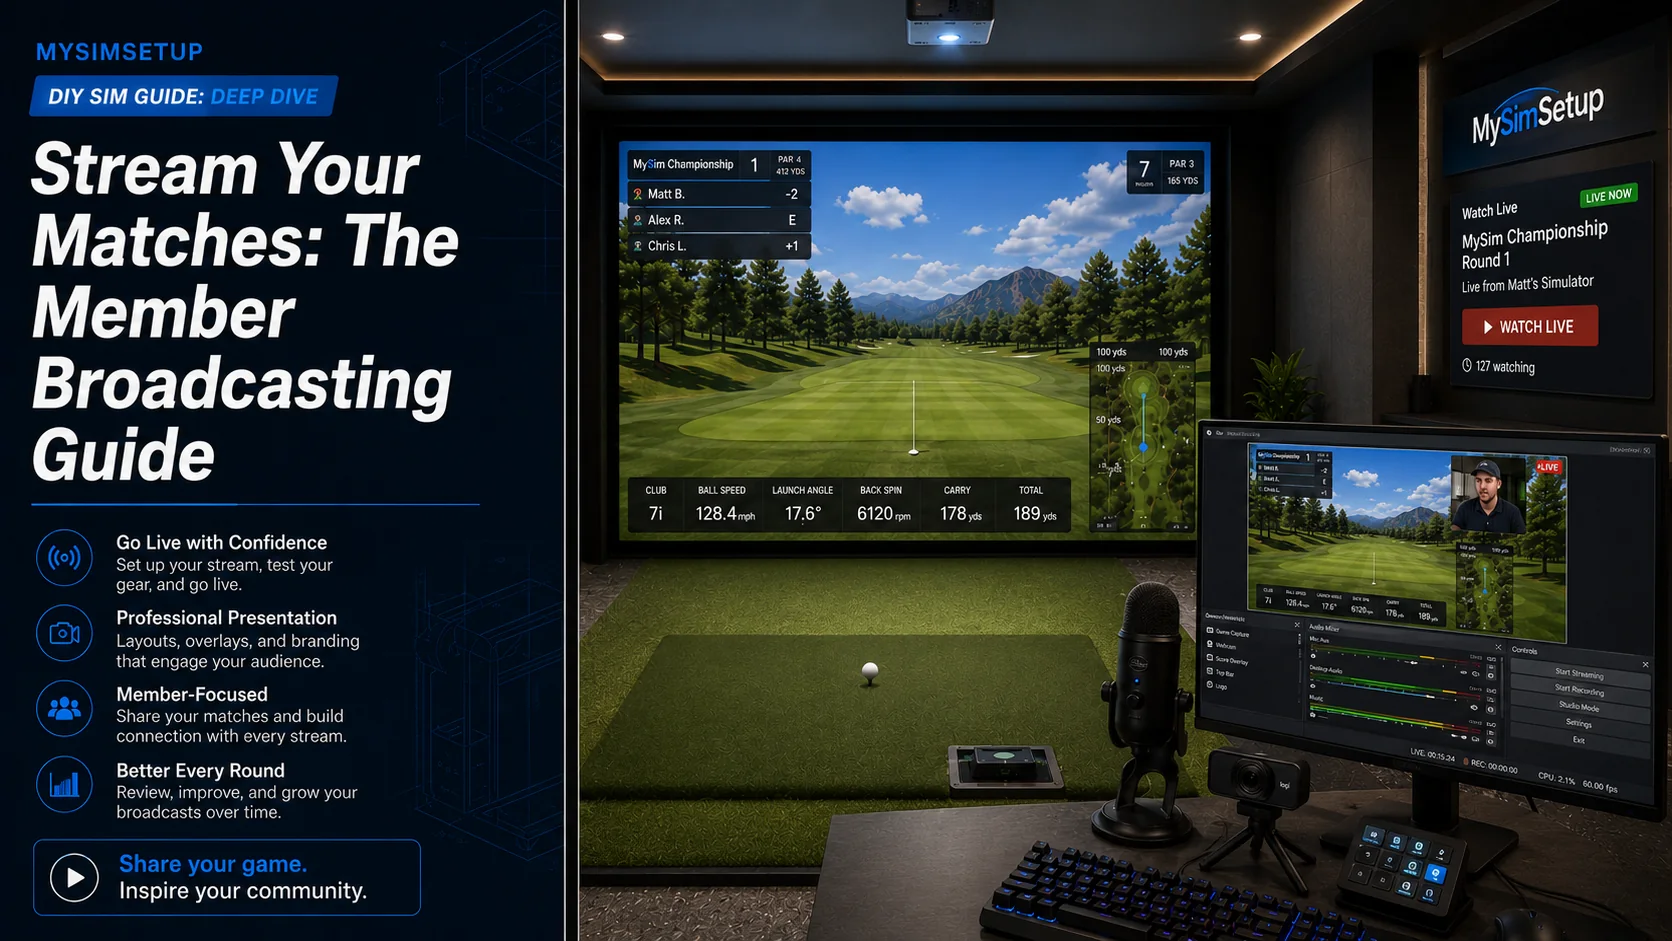
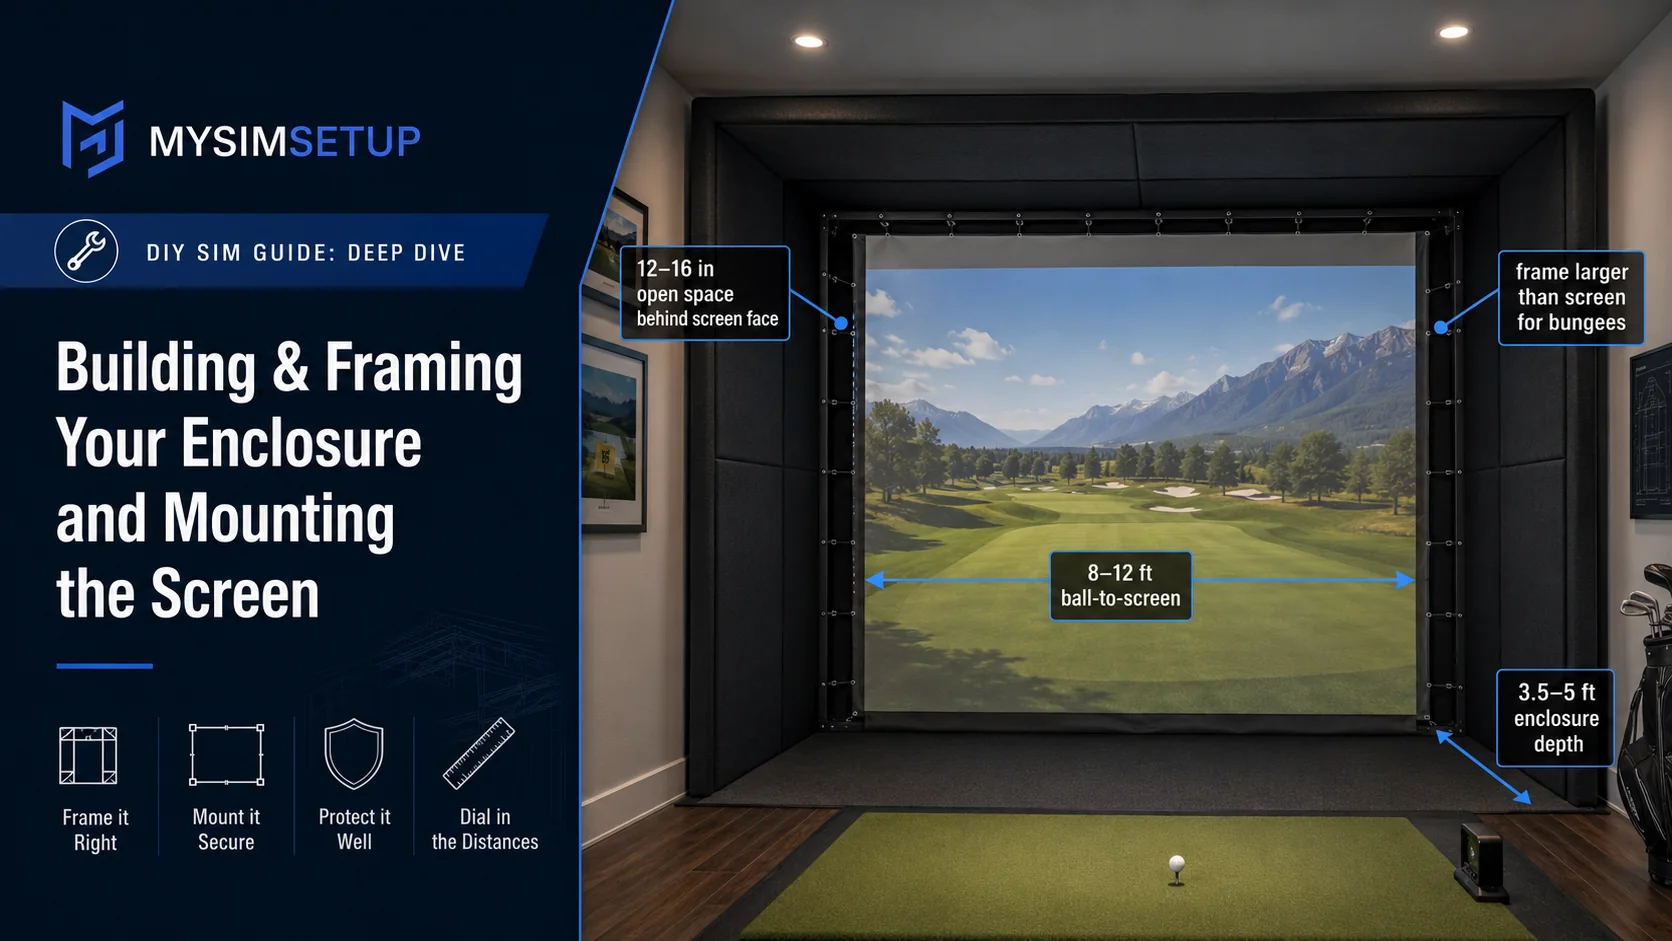
Webcam Putting in GSPro, From Setup to WorkingThe busiest topic in our community, and the one that beats the most people. This is the whole path in order: the license switch, the camera, the reading zone, the mask, the light, and the radius setting that decides whether a ten foot putt goes ten feet or a hundred. Built from what members who got it working actually did.26 min readStream Your Matches: The Member Broadcasting GuideGoing live turns your tournament round into an event: your match leads the Live TV rail, spectators follow the scorecard in the watch party, and your finish gets a replay link the whole clubhouse can tap. Here is the full setup, from OBS to on air, in about thirty minutes.4 min readBuilding & Framing Your Enclosure and Mounting the ScreenThe hands-on companion to Part 4. When you are standing in the room with conduit or lumber and a folded-up impact screen, this is the step-by-step: dimensions, framing, and how to tension the screen so it looks sharp and kills the ball.7 min read
Pick a budget, then build to it
Rough all-in targets from Part 2. The builder prices your exact parts live.
Starter
$2k
An entry launch monitor with good ball data, a PC you already own, a DIY frame, a value impact screen and a foam-backed mat.
Enthusiast
$5k
A mid-tier launch monitor with reliable club data, a bright 1080p projector, a proper enclosure, a multi-layer screen and a commercial mat.
Premium room
$10k
Full club and ball data, a bright sharp projector, a turnkey enclosure, a tensioned screen, wall-to-wall turf and a purpose-built PC.
Showroom
$20k and up
A best-in-class launch monitor, the brightest short-throw projector, a finished curved enclosure, acoustic treatment and seating.
Ready to start?
Prices update automatically and some links are affiliate links. You never pay more, and it helps keep this guide free.